

This weeks site of the week is actually several sites on the same theme. First, you can head over to Victoria Bampton's site and pick up a free pdf download of Lightroom shortcuts:
Lightroom shortcuts link
Then you can surf over to Trevor Morris Photographics for shortcuts for Photoshop:
Photoshop shortcuts link
Lastly, another option is keyboard covers and stickers with photoshop shortcuts printed on them that you can find over at http://www.editorskeys.com/.
Have a good weekend!
Lightroom shortcuts link
Then you can surf over to Trevor Morris Photographics for shortcuts for Photoshop:
Photoshop shortcuts link
Lastly, another option is keyboard covers and stickers with photoshop shortcuts printed on them that you can find over at http://www.editorskeys.com/.
Have a good weekend!


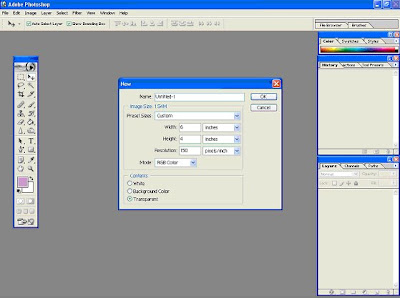
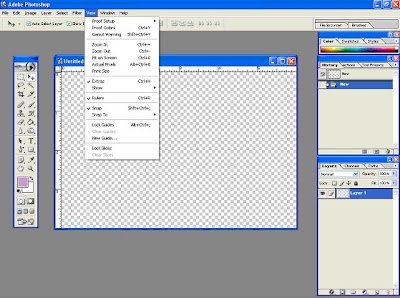 Now, use your marquis tool (rectangle selection) to select the area in the center of the frame that will contain your picture. Then go to the Select tab and pick inverse. Now everything outside of the "picture" area is active and the center will be protected.
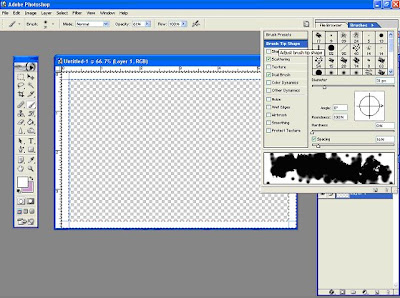
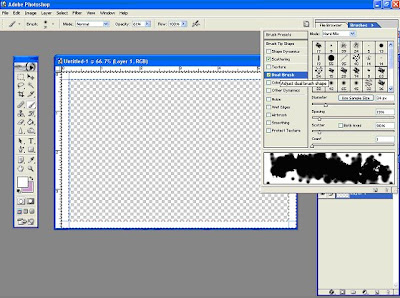
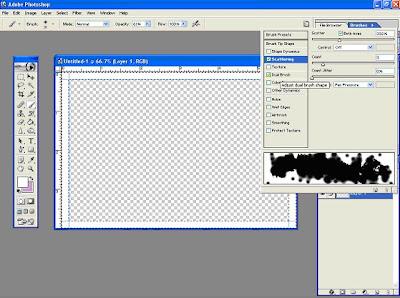 Now, just paint around the inner edge of the selected area until you are satisfied (more or less) with the result. Remember, you can move the brush inside the picture area all you want since that area is not selected, it will be protected. This is what I came up with...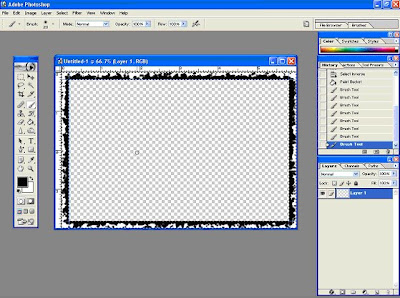
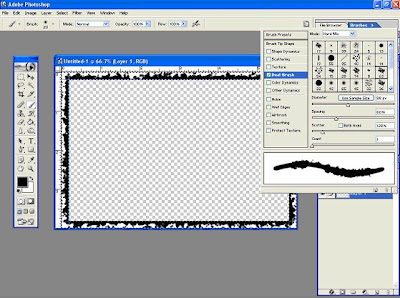 ...and went round again to get something like this:
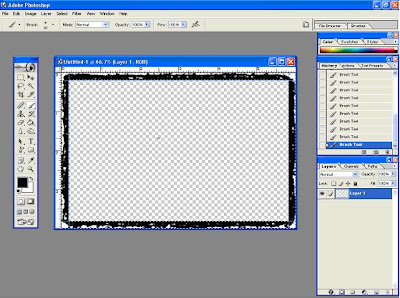 Remember, you can play with different brushes, blending modes, and opacities until you find something that you like. This is fun because there are no rules and no right or wrong answers. So, when you are done just save it as a psd file and you are good to go.