
 So, today I was going to do a quick tutorial on how to make custom "sloppy" frames like the ones that I used for my Monday post. They are really easy and add a little extra something to your images when posting them on online galleries or portfolios. You may notice that my screen looks a little different than yours, but that is because I am still running Photoshop 7 (I know, I know I WILL upgrade any day now, I swear).
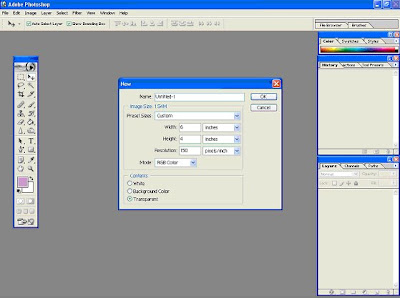
First, open a new document with a transparent background. I choose 4x6 at 150 dpi since I plan on using mine mostly online at low resolution, but you can make yours whatever size and resolution you want.
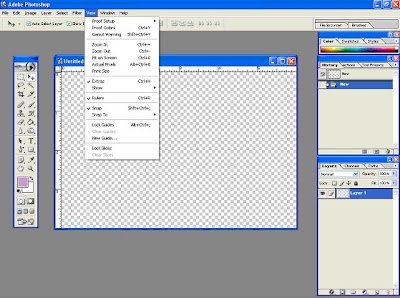
Next, use your guide lines to set up the area for your border. The guides can be found by clicking and dragging from the ruler toolbars, which you can turn on and off through the view tab (as shown below).
 Now, use your marquis tool (rectangle selection) to select the area in the center of the frame that will contain your picture. Then go to the Select tab and pick inverse. Now everything outside of the "picture" area is active and the center will be protected.
 I chose to fill the background area of the outside section with white using the paint bucket tool. If you do not fill it with a color, you will just have an irregular exterior shape.
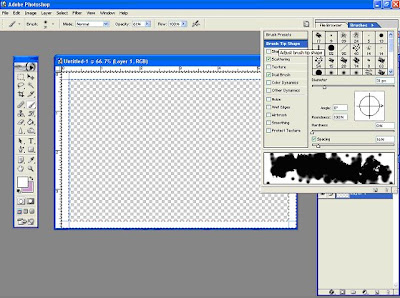
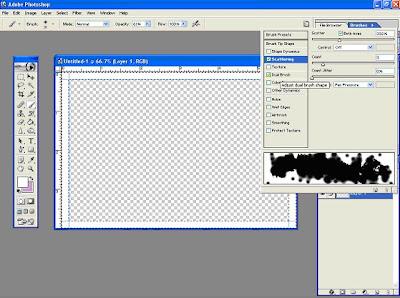
 Next, select your brush type, size and dynamics using the brushes tab. There really is no right or wrong type to use for this so try out some things and see what you like. I included screen grabs of the brush that I used if you are interested.
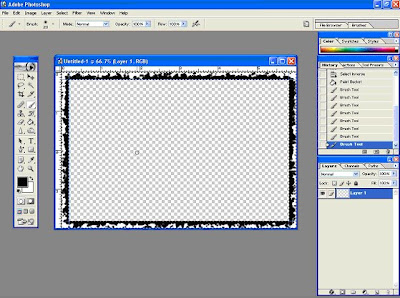
 Now, just paint around the inner edge of the selected area until you are satisfied (more or less) with the result. Remember, you can move the brush inside the picture area all you want since that area is not selected, it will be protected. This is what I came up with...
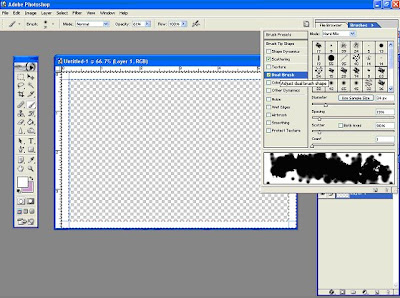
I wanted mine a little thicker so I picked a second brush...
Now, just paint around the inner edge of the selected area until you are satisfied (more or less) with the result. Remember, you can move the brush inside the picture area all you want since that area is not selected, it will be protected. This is what I came up with...I wanted mine a little thicker so I picked a second brush...
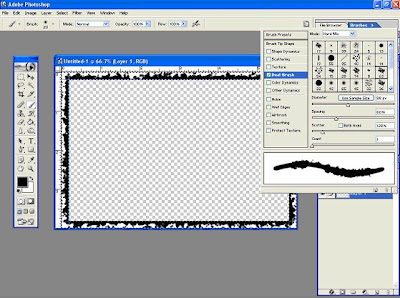 ...and went round again to get something like this:
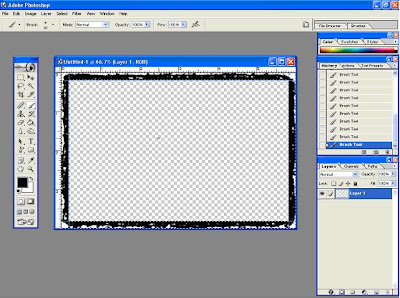 Remember, you can play with different brushes, blending modes, and opacities until you find something that you like. This is fun because there are no rules and no right or wrong answers. So, when you are done just save it as a psd file and you are good to go.
When you go to add it to a picture use the image size dialog to shrink the photo to the size of the interior opening (3.75x5.75 in this case) and then increase the canvas size back to 4x6 so that the border does not cover up any of the objects at the edge of your picture. Enjoy!
No comments:
Post a Comment