
1. Create a new document that is 11x14 with a white background.
2. Layout your grid lines. for this size canvas you can have three 3" x 3" squares with 1/2" all around. Set your guides both horizontally and vertically at 1/2", 3 1/2", 4", 7", 7 1/2", and 10 1/2".
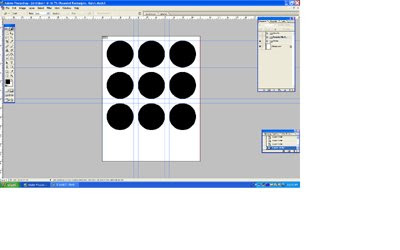
3. Select your shape tool and go to town. This template can be pretty versatile and I am showing it in the next few steps with several shape options. You can do rectangles...

Circles...
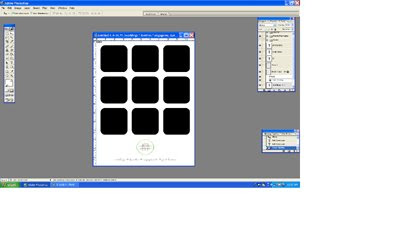
or rounded rectangles...you may want to set up all three shapes and use this as a master template file like I have done here.
 (A word on setting to help you out with making and placing the shape layers: Be sure that under the shape menu you have selected the square with points at each corner - to make a shape rather than a path or fill pixels. There is a little pull down arrow on the top tool bar after all of the shape icons, if you open that menu you can choose from having your shape be unconstrained, square, fixed size, or proportional. Choose fixed size and type in 3x3. Now you can just click at the corner of your grid and the right size shape magically appears)
4. Add your logo or title at the bottom of the page.
 5. Add your pictures. Bring in your photos and arrange each photo in the layers panel to be above the shape layer in the desired position. Once the layers are all in order, click on the photo you are working with and type crtl+alt+g to clip the layer to the shape. This will only let the portions of the photo within the shape layer show and mask the rest. Doing this saves you a lot of erasing and makes it easier to make adjustments if you change your mind later. You can still use the bounding box to scale and / or move the photo around. Repeat that process 8 more times and you should come out with something like this:
 Have a happy Wednesday!
No comments:
Post a Comment